HEADER & CASING COLLISION
Read time 2 min
Navigating the complexities of door and casing installation requires meticulous attention to detail. Here we offers insight on achieving a perfect fit, especially in confined or complex spaces. This guide outlines the essentials of adjusting casings and headers, offering solutions for common challenges and ensuring a seamless, aesthetic finish.
1. Planning:
Before Installation: Consider the trim and header details before setting doors.
2. Door Setting:
Tight Hallways: Center the doors to ensure symmetric casing on both sides.

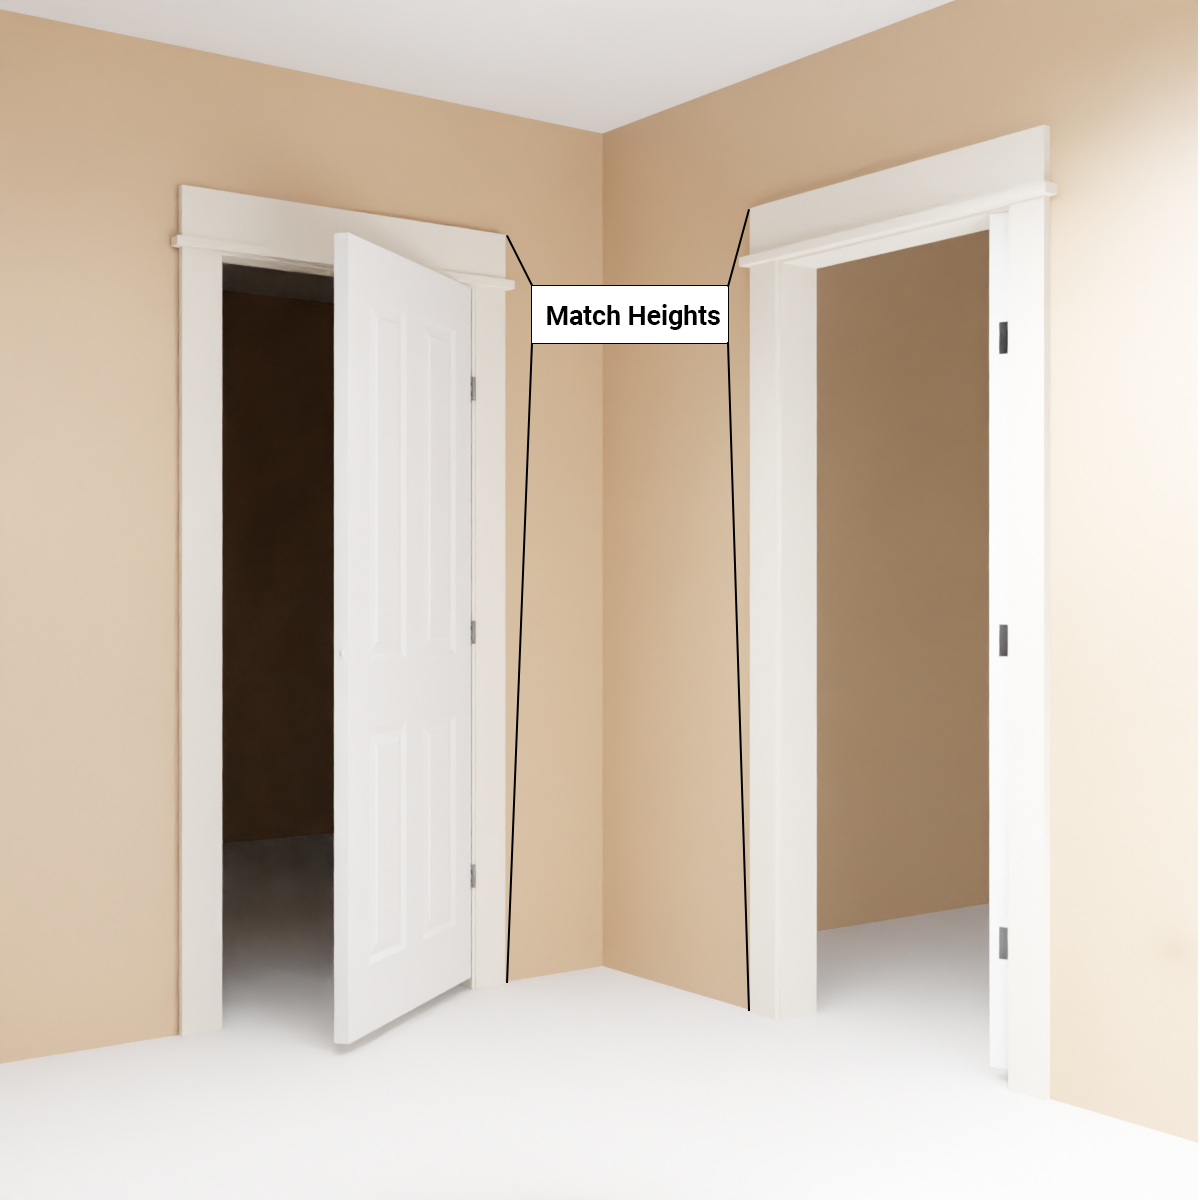
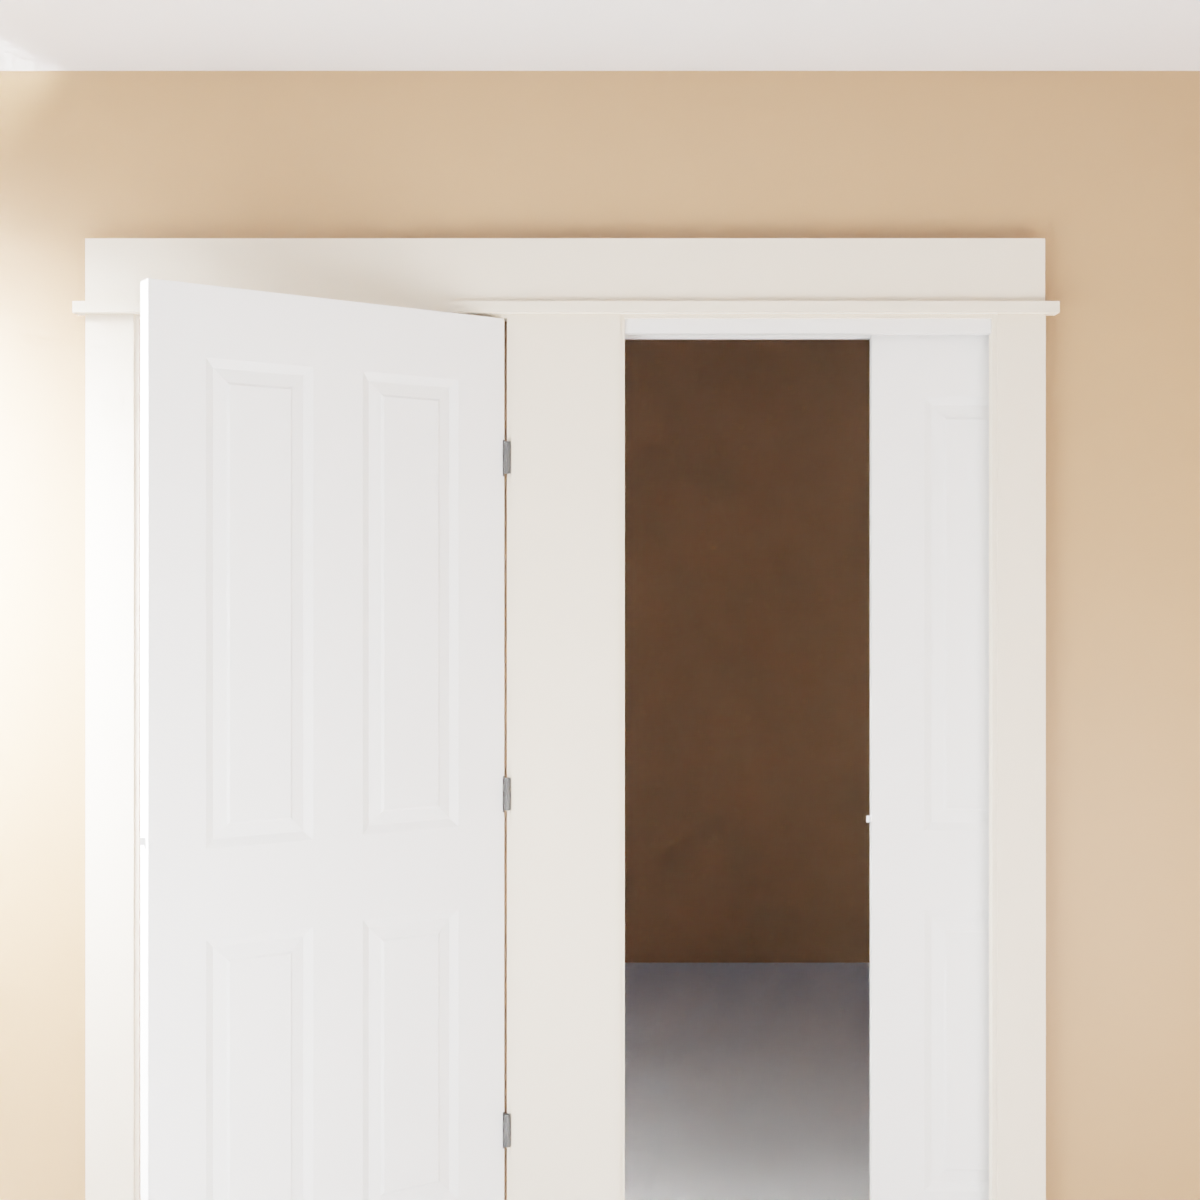
Adjacent Doors: Match header heights for adjoining doors or cased openings.
3. Casing Adjustments:
Preparation: Mark the legs that need to be widened before trimming units.
Close to Wall (1" or Less): Stretch the casing to the wall (see Example A).
Install Baseboard: If the casing is 1” or more away from the wall, install the small piece of baseboard first.
Example A

Gap 1” or less ❌

Stretch casing to wall ✔️
4. When to Merge Casing:
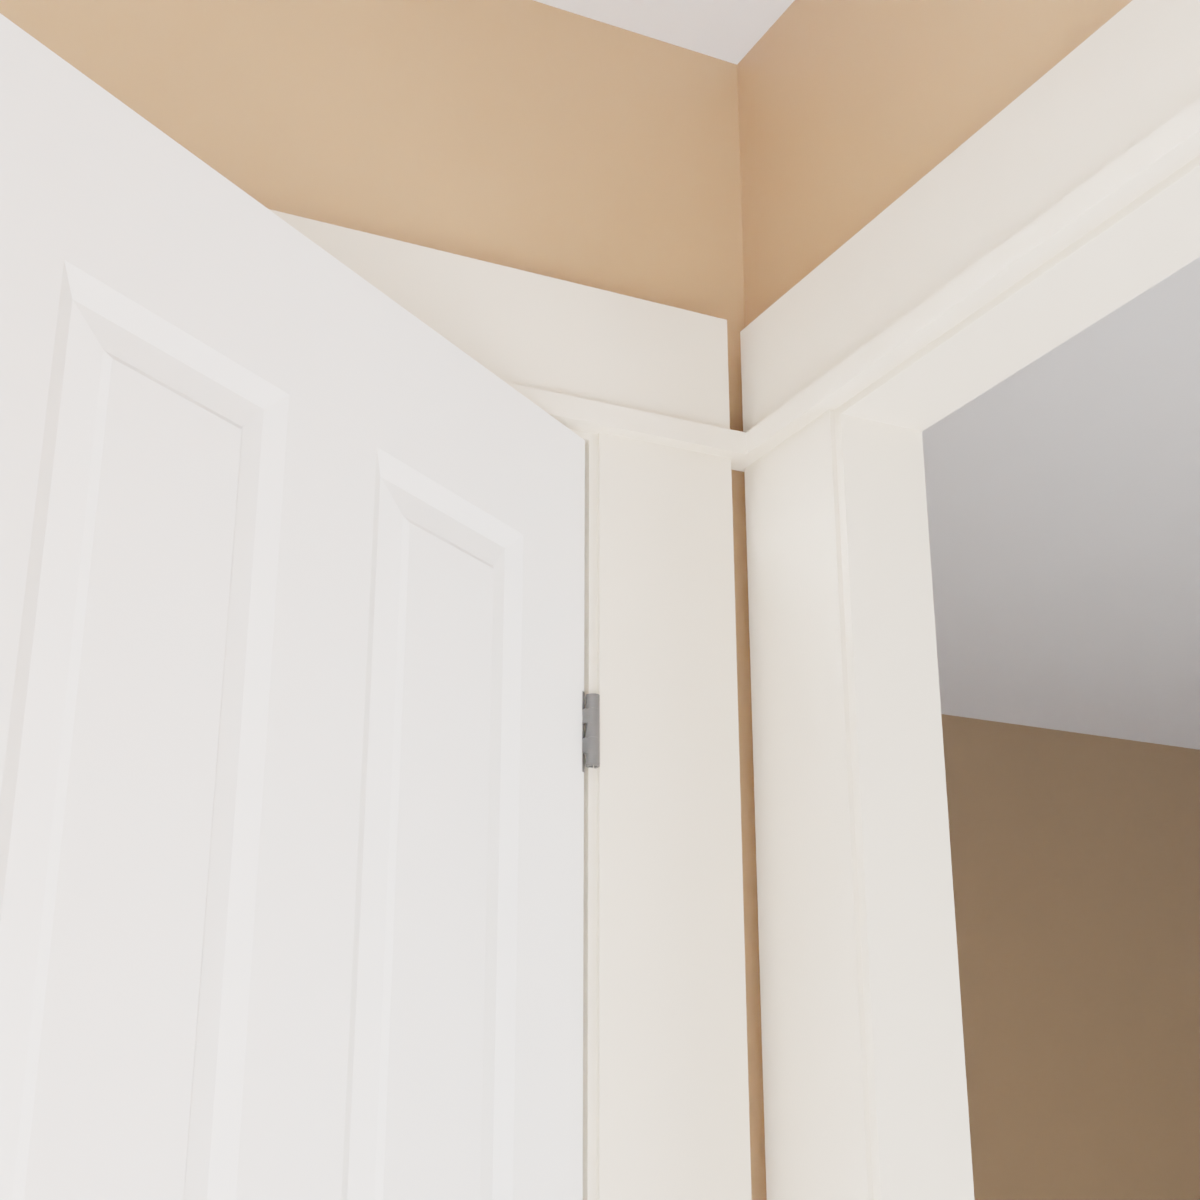
Headers Close to Each Other (2" or Less): Merge casing and header (see Example B).
Casing Near Another Casing (2" or Less): Stretch the casing (see Example B).
Overhanging Header Next to Wall: Cut the header cap as long as the supporting profiled trim remains intact.
Rule of Thumb: Always merge the casing if headers are merged.
Example B

Gap 1” or less ❌
Gap 1” or less ❌
Merge Casing ✔️

Merge Casing ✔️
5. Merging Casing with details:
Backband at Inside Corner: Treat the merged casing as a mull without a backband (see Example C).
Profiled Casing at Inside Corner: Add flat stock to the outer edge and trim units separately with dog ear effect if needed.
Example C

6. Dealing with Different Header Heights:
Flat/Flush Headers: Stretch or rip a header to match at the top.
Proud Headers: Cut legs to the same height and merge inside corners, and use a horizontal mull for different height headers ensuring it’s thinner than the casing legs (see Drawing H). EDIT******
7. Reference Drawings:
Visual Aid: Refer to the provided drawings for visual clarification on each step.
These steps should assist in ensuring a professional and aesthetic finish when installing doors, casings, and headers, particularly in complex or tight spaces.